Whether you want to take an idea from concept to prototype or move a design into full production, injection molding is a suitable manufacturing solution. Below, we provide an overview of injection molding, outlining what it is, how the process works, and what to consider when planning an injection molding project.
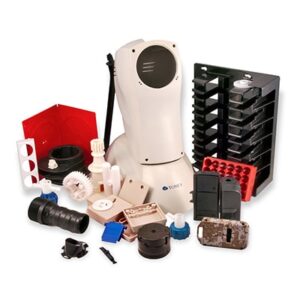 Injection molding is a manufacturing process that involves the injection of molten materials into preformed molds. It is used to create parts and products in a wide range of shapes and sizes in low and high volumes.
There are many injection molding variations, each of which requires the heating and melting of material, injection of the molten material into a mold, and cooling of the material within the mold to form the desired component. Three of the main methods utilized differ based on the material used:
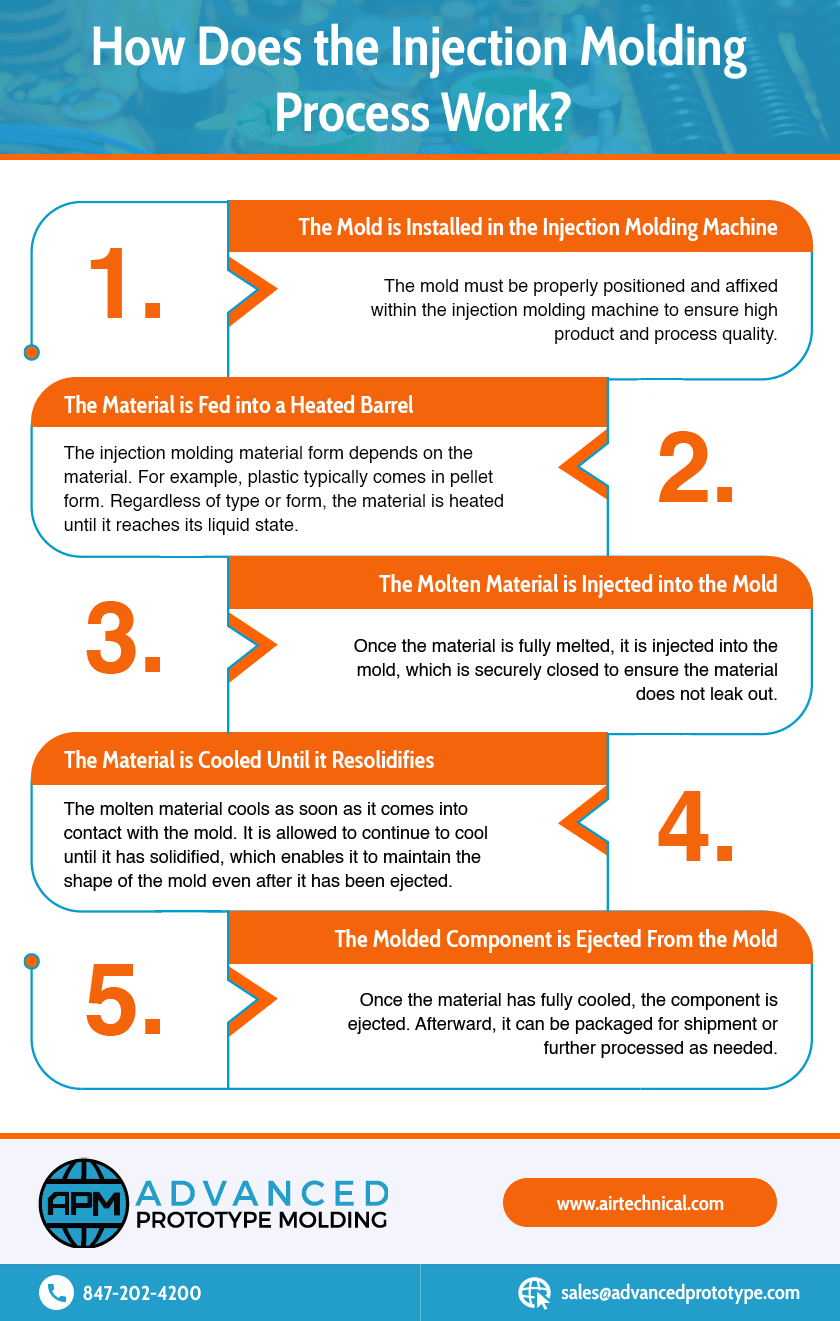
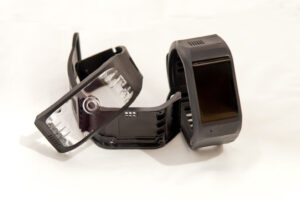 While the injection molding process may vary from project to project, depending on the part and production specifications, it typically consists of the following steps:
While there are standard molds available for injection molding operations, many projects require custom molds. These customized components must be designed and built to suit the desired product. Once the molds have been sourced or created, the injection molding process can begin.
Click to Enlarge
The mold must be properly positioned and affixed within the injection molding machine to ensure high product and process quality.
The injection molding material form depends on the material. For example, plastic typically comes in pellet form. Regardless of type or form, the material is heated until it reaches its liquid state.
Once the material is fully melted, it is injected into the mold, which is securely closed to ensure the material does not leak out.
The molten material cools as soon as it comes into contact with the mold. It is allowed to continue to cool until it has solidified, which enables it to maintain the shape of the mold even after it has been ejected.
Once the material has fully cooled, the component is ejected. Afterward, it can be packaged for shipment or further processed as needed.
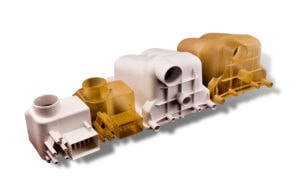
There are many factors to consider when planning an injection molding project. Some of the questions you should answer before beginning the project include:
If you’re outsourcing your prototyping and/or production operations, the injection molding company you partner with should be able to meet all of your requirements and restrictions.
Looking for an injection molding company that is as committed to your project success as you are? Advanced Prototype Molding is the ideal partner!
At Advanced Prototype Molding, we are a full-service injection molding company. We provide design, mold engineering, injection molding, assembly, finishing, and many other related services all under one roof, which enables us to turn our customers’ concepts into reality while saving them time and money.
To learn more about our injection molding capabilities, check out our injection molding services page or contact us today. To partner with us on your next injection molding project, request a quote.
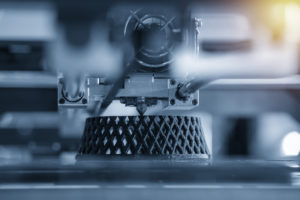
Moving from prototype to production doesn't need to happen all at once. It is often advantageous to perform additional fit and function testing in-between stages of development. Doing so can help to verify that the final product will perform exactly as intended. Urethane casting and RTV molding can help fill this gap, offering an affordable way to trial components before production. Cast urethane components closely resemble their production-quality counterparts in form, color, and texture, but they are more cost-effective to produce in low volumes.
At Advanced Prototype Molding (APM), we include urethane molding in our broad array of rapid prototyping services to help customers take their designs from concept to full-scale production. Urethane casting complements our other prototyping and production services, which also include injection molding, 3D printing, rotational molding, CNC machining, and stamping. Our expert team can help you determine where urethane casting fits into your individualized production process.
Urethane casting is the process of molding urethane polymers into rigid or flexible components. Once set, urethane closely mimics the properties of production-quality polymers, making it an ideal material for advanced prototyping. We typically employ room-temperature vulcanization (RTV) molding to cast urethane components, which involves pouring urethane into a silicone mold. These silicone molds can range from simple to highly complex, so they facilitate the production of virtually any desired part geometry.
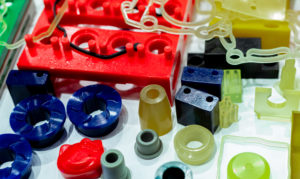
The urethane casting process resembles plastic injection molding in many ways, but there are key distinctions. For instance, urethane casting via RTV molding uses a flexible silicone mold rather than hard plastic tooling. These silicone molds are affordable and easy to produce, making them ideal for prototyping and its potential for frequent design changes.
The urethane casting process involves the following key steps:
1: Produce a master pattern. The first step in urethane casting is to create a precise 3D model of the component. This pattern will be used to create the initial silicone mold, and it will be kept as a reference in case the mold needs to be replaced. Silicone molds wear out more quickly than hard plastic ones, but the master pattern allows for easy replacements. This pattern may be 3D-printed, or it might be formed using CNC machining or another technique. What matters most is that it accurately represent the geometry of the final product.
2: Create the silicone mold. With a master pattern, creating a silicone mold is as simple as encasing that model in silicone. Once hardened, a technician slices the silicone in half and sets aside the pattern. The mold is now ready for casting.
3: Prepare the urethane. Urethane comes in two liquid phases that must be combined prior to molding. Different types of urethane suit different projects, depending on the desired rigidity.
4: Pour urethane into the mold. As in plastic injection molding, the next step is to fill the cavity with the liquid polymer.
5: Fill the voids. Simply pouring urethane into the mold is typically not sufficient to fill all the empty spaces in the mold. Applying a combination of heat and vacuum pressure to the mold can help remove all excess air and ensure that the urethane fully conforms to the cavities in the silicone.
6: Remove the component. The urethane will slowly set inside the mold, at which point the two halves can be separated and the hardened plastic removed.
7: Repeat. The process continues until all desired models are hardened. At this point, any desired finishing processes can take place.
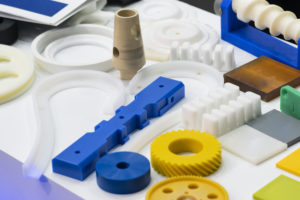
Urethane casting is an excellent choice for prototyping in many respects, and it can also be used for some production runs. Its advantages include:
Urethane casting is popular due to its flexibility and affordability, and its applications are not limited to a single industry. Many sectors have uses for urethane molds and prototypes, such as:
Specific applications include almost any product that can be tested using rigid, flexible, or elastic polymers. Some examples include:
The experts at APM can help determine whether urethane casting is an appropriate choice for your project.
Urethane casting provides an ideal combination of accuracy and affordability, making it a highly accessible option for prototyping. At Advanced Prototype Molding, we rely on RTV molding and urethane casting services to quickly craft prototypes, fit and function testing parts, and even final production components. We draw on more than 40 years of experience to guide clients through the production process, beginning with a free design consultation and ending with a product or prototype in-hand.
To learn more about how APM's decades of experience can benefit your project, contact us or request a quote today.
Prototyping used to be an expensive and time-consuming process in engineering, but fortunately, recent technological developments in 3D printing have changed that. Although 3D printing technology has been around for more than 30 years, it’s only recently become an economic choice for mass production.
3D printing and rapid prototyping may seem like similar processes, but a few crucial differences exist between them. 3D printers manufacture items by turning digital 3D models into objects. Unlike subtractive processes like CNC, 3D printing builds objects by adding material from a print head, nozzle, and other methods, allowing to precisely control the number of resources spent on prototyping. To put it another way, 3D printers can create something out of nothing.
Rapid prototyping is also an additive process, but it uses special materials such as photopolymers, thermoplastics, and metals to fabricate objects much faster than traditional prototyping methods. There are four major types of rapid prototyping, which we discuss below.
3D prototypes allow manufacturers to test new ideas and gauge performance before sending parts to mass production. Prototyping offers the flexibility to create multiple models, allowing you to experiment with a number of different builds at once. Because 3D-printed prototypes work for both visual and functional testing, they’re wildly popular among manufacturers who are testing new ideas.
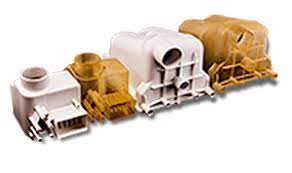
Understanding the different types of rapid prototyping will help you decide the best process for your needs. Manufacturers rely on four main types of prototyping:
Each of these processes uses a versatile range of materials. PolyJet and SLA processes operate with all kinds of photopolymers, FDM uses thermoplastics such as nylon and acrylonitrile styrene acrylate, and DMLS works with metals ranging from aluminum to titanium.
Advanced Prototype Molding will work with you to determine the best 3D-printed prototyping process for your needs. We’re experts in the industry, and we can’t wait to see what we’ll work on next.
For more information on 3D printing, rapid prototyping, and how you can use these processes to make the most of your product testing, contact us, and request a quote today.
You might think that the “selfie stick” was invented a few years ago, but it turns out the original was designed over 30 years ago. Like so many inventors, Hiroshi Ueda from Japan created a product to solve a problem.
While on vacation in Paris, he asked the youth to take a picture of his family at a famous monument, and the youth ran off with his camera instead. Ueda thought it would be great if he had a device he could attach to his camera to take his own pictures.
BBC News explains that his “telescopic extender stick” was an extendable stick with a tripod screw that was built for use with a new, small, camera. He added a mirror to the front of the camera so that photographers could frame the photo properly He was so convinced the selfie stick would be a hit, he applied for a US patent, and 2 years later it was approved.
The extender stick didn’t take off commercially, but Ueda continued to use it. His patent expired in 2003, about 4 years before the launch of the iPhone. Today selfie sticks are so prevalent that they are being banned in some public places for fear their use may result in property damage or injury.
Even still, Ueda has a good attitude about being ahead of the times. “My idea came too early, but that’s just one of those things,” he told the BBC. “We call it a 3 am invention…it arrived too early.”
A team of students in Singapore has crafted Asia’s first 3D printed “urban solar electric car prototype.”
The car took over a year to build and contains as many as 150 parts that were 3D printed. The goal of the car, called the NTU Venture (NV) 8, is to offer superior fuel efficiency standards while amplifying internal space for comfort.
Ilmi Bin Abdul Wahab, a fourth-year computer engineering student at Nanyang Technological University who led the development of NV8, said of the design, “Despite being an urban concept car, it is no slouch and can reach a top speed of 60 kilometers per hour while maintaining low-energy consumption.”
The car, mounted on a carbon fiber single-shell chassis, is slated to participate in the Shell Eco-marathon Asia race hosted in Manila, the Philippines later this month.


ADVANCED PROTOTYPE MOLDING
1520 N Old Rand Road Wauconda, IL 60084
Tel: 847-202-4200
Fax: 847-202-4270
sales@advancedprototype.com
ADVANCED PROTOTYPE MOLDING
1520 N Old Rand Road Wauconda, IL 60084
Tel: 847-202-4200
Fax: 847-202-4270
sales@advancedprototype.com